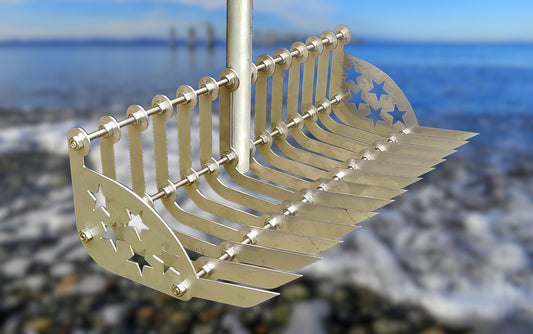
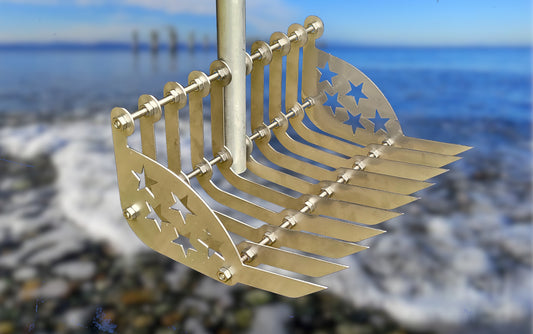
Assembling your new 5 Star Clam Rake should take about 20 minutes. See our assembly instructions below:
Tools and Materials Needed
You will need to supply a handle. Our clam rakes ship without a handle to save shipping costs for oversized items. We recommend the following options.
- Aluminum pipe - Our favorite handle material is schedule 40 aluminum pipe with a diameter of either 3/4" (1.05" OD) or 1" (1.310" OD). Aluminum pipe is lightweight, will last forever in a salt water environment, and is available at a metals or plumbing supplier near you. Aluminum pipe is typically available in 10 ft. lengths and can be cut to the handle length that you prefer.
- Wooden broom handle / tool handles - Wood is the handle material that is most often used for clam rakes and will last a lifetime if kept dry when not in use. Typical wooden handle diameters are 1 in., 1-1/4 in., or 28mm. Replacement broom and tool handles are available at your local hardware store.
-
Aluminum clam rake tube - Yes, there is an aluminum tube material called "clam rake" and it can be found at your local metal supplier. Clam rake tubing comes in several different diameters and each diameter is designed to slide inside the next larger size. This allows for telescoping handles to be made from the material. This material is typically used for a different type of clam rake - tong style clam rakes - that can have handles that are 30' long or longer. Clam rake tube is typically 12 ft. long and available in outside diameters of 7/8 in., 1 in., 1-1/8 in., 1-1/4 in., 1-3/8 in., and 1-1/4 in. with a wall thickness of .060 in.

- Electrical Conduit (Electrical Metallic Tubing, EMT) - Electrical Conduit is a galvanized steel tube, comes in 10 ft. lengths, and is available in several different diameters. We recommend 3/4 in. (.992 in. OD) or 1 in. (1.163 in. OD). Electrical conduit is light weight and strong. Conduit is galvanized steel so it is corrosion and rust resistant but not as durable when exposed to salt water as Aluminum. If your conduit handle is rinsed with fresh water after every use, conduit will last a lifetime.
You will also need:
- A Drill - for drilling two 1/4 in. holes in the handle.
- A Hacksaw - for cutting the handle material to the proper length.
- A Tape Measure or Ruler - for centering the stainless steel rods in the handle and maintain tine spacing.
- Two 7/16 inch Open-End Wrenches or Adjustable Wrenches - for tightening the stainless steel nuts.

Assembly Steps
Step 1 - Cut the Handle to Length
Most clam rakes come with handles that are 51 in. or 60 in., long. We suspect that these shorter handles are to save shipping costs.
We recommend handle lengths of 6 ft. (72 in.) to 7 ft. (84 in.) depending on the user's height. A longer handle means less bending and makes clamming more comfortable.
Many commercial clammers prefer even longer handles so they can rest the handle over one shoulder while working. If you aren't certain about the length of handle you need, assemble the rake with an uncut handle and cut the handle to length after you have used your new rake to harvest clams.
Step 2 - Drill the Handle
Drill two holes in the handle with a 1/4 in. drill bit. The first hole should be 3/4 in. from the end. The second hole should be 4-1/4 from the end of the handle. The center-to-center spacing of the holes should be 3-1/2 inches. Be careful to get the holes parallel. If the holes are not drilled parallel, the threaded rods that go through those holes will not be parallel and the clam rake tines will not slide onto those rods without a struggle.

Step 3 - Center Two of the Stainless Steel Threaded Rods
Insert two stainless steel rods into the 1/4 in. holes drilled through the handle. install washers, one set of tines, and stainless steel nuts on both sides of the handle and tighten the nuts. Tine spacing depends on which model clam rake you are assembling. Add or remove washers between the tines and handle to maintain the tine spacing that is included in the box with your clam rake. Make sure that the handle is centered in the middle of the threaded rods.

Step 4 - Add the Third Rod
Insert the third rod into the open holes in the two center tines. Make sure to thread two nuts onto the rod, between the tines, as you insert the third rod. Add a nut to the outside of each tine and tighten the nuts maintaining the proper tine spacing. As before, make sure the threaded rod is centered with equal lengths on the right and left of the center tines.

Step 5 - Add Additional Tines
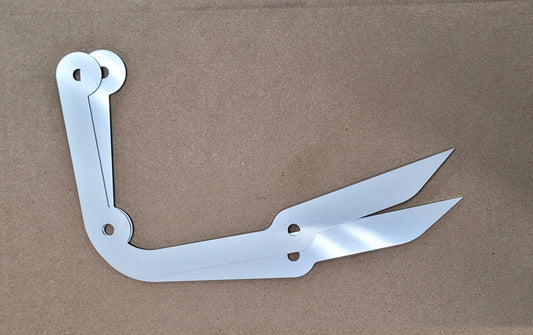
Add each additional tine so that each tine is between two nuts. The order should be as follows: inside nut > tine > outside nut. Use your ruler to maintain tine spacing.

Step 6 - Finish By Installing the Two Outer "5-Star" Tines
Following the same procedure for each of the other tines, install the outside tines that have the 5-Star design and tighten the last nuts.

Step 7 - Harvest a Delicious Meal of Clams


